Polygon Modelling A Lego Body
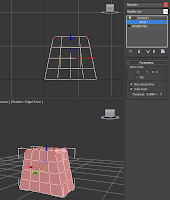
 First I begin modelling a plane over a template that I'd already created. Convert to editable polygon.
Modified using symmetry and mirrored on the z axis.

After connecting my edges around the arm area, I delete that particular area's polygons.
 |
| After adding the Shell modifier the inside geometry is a little skewed. |
 | ||||||
| Needed to Straighten Corners |
 |
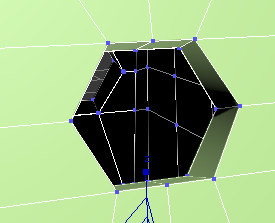
| Circling the arm-hole. |
From the first render, the arm-hole is obviously not lego style so scaling and constraining all at the same time, I attempt to make it more circular. I can improve it further, I hope.
Now to make the hole for the neck. Extrude top four polygons 6mm high. Then choose edge, ring and connect to give it a more defined edge.
With no constraints, scale in the vertices of the neck to give it a more octagonal shape, trying to make the vertices as equi-distant as possible.


No comments:
Post a Comment